| SS Multi Cartridge Filter Housing | Sand & Carbon Vessels | |||||
| SS Bag Filter Housing | UPVC Filter Housing |
| Water Treatment Series | Swimming Pool Series | Bag Filter Housing |
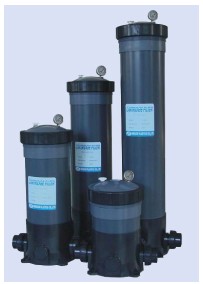
| Cartridge Filters for Swimming Pool | |||||||||||||||||||||||||||||||
|
|||||||||||||||||||||||||||||||
| INSTALLATION |
|
||||||||||||||||||||||||||||||
|
|||||||||||||||||||||||||||||||
| START UP PROCEDURE | 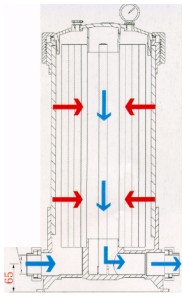 |
||||||||||||||||||||||||||||||
|
|||||||||||||||||||||||||||||||
| CLEANING AND CHANGE | |||||||||||||||||||||||||||||||
| When the filter gauage reading is 50 Kpa above the clean filter gauage reading, Cleaning the element is required. | PEDESTAL LOCATION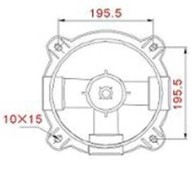 |
||||||||||||||||||||||||||||||
|
|||||||||||||||||||||||||||||||